On the Painting Table ... Nuclear Winter

MERCS – In and effort to complete my collection I've started painting a Kezi-Waza force. I really like the look of the models and can't wait to get them on the table. After opening the box I was disappointed to see I was missing some parts. The leader's missle wasn't in the box. I've contacted Brian at mercsminis and he assured me they'd get the part right out to me. While I patiently wait for that to arrive I got to work assembling the rest of the team. 

First thing I noticed is these are particularly fiddly to put together the arms didn't seem to match up as nicely as the other MERCS models I've assembled. After a bit of pinning they fit together pretty much as pictured on the box. There is a nasty gap with the cloaked sniper head that I need to fill with greenstuff and the Heavy Hybrid wouldn't hold his gun with both hands no matter how I tried to position the arms. Eventually I got it to stick with only a slightly noticable gap behind the arm. I mounted these to my urban base set and am happy with how they look. 

After priming them with a dark grey primer I went to work painting the armor plates. I opted for the "official" orange scheme to match the dice that came in the box. The fabric is a nice khaki brown. 

On the painting table ...

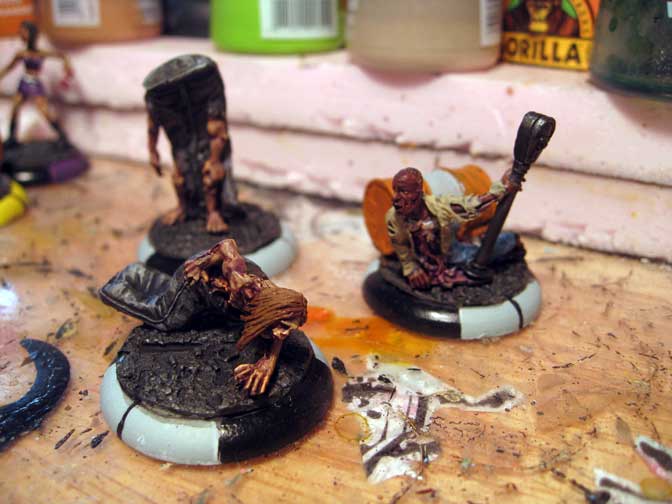
MERCS - This year for Halloween, my Tuesday night gaming group is planning on running a MERCS game using the zombie rules I came up with earlier this year.  As I got distracted with some other projects I never got around to finishing up the Studio Minatures zombie horde.

I think part of the reason I lost interest in painting these models is the shear number I had to finish up. When you have 40 or 50 zombies sitting on your table the first instinct it to assembly line them to get the job done. Of course this means your burn out fast and don't lavish the attention these models deserve. 

So I've decided to break the horde down into more manageable chunks. The first batch I'm working on wrapping up are the Zombie Strippers from Reaper's Chronoscope Range. These sculpts are pretty fun even though they tend to be a little clunky, I think it adds to the undead nature. 

I started with a base of Foundation Flesh followed up with a purple wash. This gives that bruised base color that I like for fresher zombies. Once that dried I used Elf Flesh as the first highlight followed with an Ogryun Flesh wash. To give them a variety in their state of decay some will have a greyish highlight applied while others with have a pale flesh tone. I'm trying to avoid the green pallor because these are fresh zombies and not from the grave. 

Before applying the final highlights I've taken red ink and applied it to all the wounds, around the eyes, mouth and hands of each model. The ink gives a slight sheen which is more representative of blood. 

To be able to tell the difference between the different types of zombies (walkers, wailers, etc.) I'm using a different color to indicate the flank and front arcs of the models. This makes game play easier and clarifies what the various zombies could be.