Let's Learn – Step by Step Library Board (Part One)
/Relic Knights – I'm super excited about the upcoming release of Relic Knights and while the game isn't slated for release until May 2013, I decided to get a jump on building a table for it. I've had a bunch of bookshelves that I picked up to detail the interior of some of my buildings sitting around for what seems like forever. At some point I gave up on detailing out each building because the details limited movement with the building to much.
From past experience large buildings look cool on the board but they pose issues with storage. This time around I decided to use the system I did for the sewer board to create the shelf walls. Also taking what I learned from cutting out all those bricks with the sewer board and the huge time sink that became I decided to carve the tiles directly into the foam base.
Materials Needed:
(4) 1"x4"x48" boards
(2) 1/4" dowel rods
(4) small corner braces
(1) 4'x8' sheet of 2.5" insulation foam
Wood Glue
Painters Caulk
Razor Knife
Step One: Carving the foam is easier when it's not attached to the wood frame. I measured out a 36"x36" square and carefully cut the foam to size. When cutting sheets of foam it's best to score it deeply and then gently apply pressure until it pops apart. After it's cut to size measure and mark the board every 1.5" repeat until you have a checkerboard drawn over the entire board.
Next you'll take a razor knife and hold it at a 45° angle and cut along one side of the line you carved. Repeat for the second side of the line. The goal is to create a v-shaped bevel along the grid. Continue until the entire board is carved with tiles.
Step Two: Building the frame is pretty simple. First measure (2) of your boards to 36" and cut them down. For the other (2) board you'll need to measure how thick your boards are. Even though the sign at Home Depot said the boards were 1"x4"X48" that is not really true. Much like the weight of a quarter pounder before cooking the boards shrink. Mine are about 3/4" of and inch thick, which means I need to cut my other boards to 37.5" long.
At this point I then measure out an are 2.5" wide in the center of my boards to account for the space the foam will occupy. Install the corner braces in the middle of that space. Once you've completed this you should have a square frame the has 36"x36" interior dimensions.
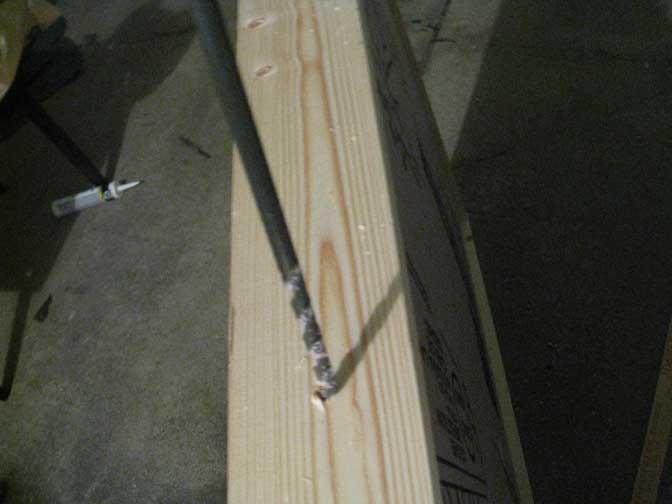
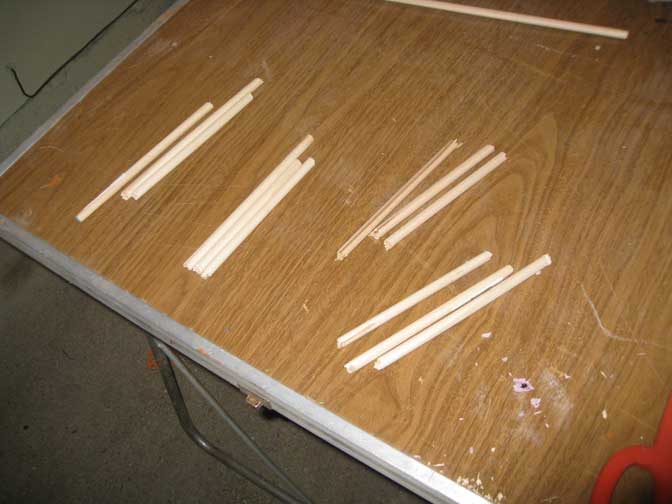
Step Three: To install the foam in the frame you'll want to gently push down on the foam until it pops into place. Align the top of your foam with the guidelines you created in Step Two. Now that your foam is level and center in the frame you need to create some support so it won't break when it is leaned on. Take your dowel rods and cut them into 5"-6" sections. Then put a 1/4" drill bit on your drill and drill (3) equally spaced holes along the edge of your board.
Take your wood glue and slather it along the dowel rod, then insert the rod into the hole you just drilled. Tap it down with a hammer until it is flush with the edge of your board. Repeat until the board is pegged on all sides. This give a nice level of support and hold the board together. I've also added 2 finishing nails in each corner for extra support.
Step Four: This part may or may not be necessary. I prefer to do it as it adds another level of bond between the frame and the foam as well as creates a water tight barrier along the edge of the board. (I tend to do lots of water effect so I err on the side of caution. Take your painters caulk and run a bead along the edge of the board between the foam and wood frame. Then with a wet finger or sponge smooth out the bead so it is flush and fills the gaps. Repeat on the other edges of the board. After this side dries, flip the board over and repeat.
Step Five: Depending on how good of a wood cutter you are you may or may not need to fill the gaps with wood filler. I'm far from awesome at cutting wood (partially because I don't have a table saw) so I have gaps to fill. I also need to fill the dowel holes. Once the wood filler (or bondo if you prefer) has dried you need to sand it smooth. During this process you may want to round the lip of your board slightly to make it more comfortable to rest your arms on the edge.
Step Six: Details, since I'm making this board specifically for Relic Knights I want to do something to the frame to make it stand out. I found this drywall tape that looks like an after market vent grill or something. I used this on a spaceship deck before, this time I've used glue to wrap the edges of the board with this texture to give it a bit more of a scify feel.


