Checking Out ... First Game of Relic Knights

Checking Out ... First Game of Relic Knights

Relic Knights – Ah summer, the draw of the outdoors: pools, beaches, fresh air, sunny skies, longer hours of daylight ... all these things kill my weekly game night. Attendance to my midweek game night is sporadic at best during the late summer months so it's the best time to try out new games and fumble through the initial games with a lighter attendance. 

Read More

Dinosaur Skeletons - A Quick Review

Random – So I needed a dinosaur skeleton for the library board I've been working on and didn't want to spend a fortune on a model. It's surprisingly hard to find a decent looking small scale skeleton model. I assumed I could just walk into a model store and grab one off the shelf. No such luck.

I did however find this Revel Cub Scout activity kit that looked like the final skeleton would be the right size. The catch of course was that it needed to be excavated. I figured this could be a fun activity for my daughter, and brought it home. She was immediately thrilled at the prospect of excavating a dinosaur and got right to work on this "novel idea."

After an hour and a half she had freed a single leg, and decided this wasn't a fun project after all. So I picked up the tiny hammer and chisel and got to work. It was entertaining for about 15 minutes. The tedious nature of the project should earn you merit badges by the boatload. If the creators of this activity intended to scare off any kids that think being an archeologist is all Indian Jones and Jurassic Park fun they succeeded. It's so repetitive and boring, just like the real thing I suppose.

Since I didn't really care about the activity I took the chunk of plaster into the garage and dropped it on the floor. This split the plaster into 4 smaller chunks. A few whacks with a rubber mallet turned the plaster to dust and I was able to retrieve my T-rex.

The model itself is easy to put together and looks pretty good next to my miniatures. I need to dig out the plaster remnants so it snaps together and then I can mount it to a plaque so it looks like Sue from the Field Museum.


Shelved - Step by Step Library Board (Part Three)

Relic Knights – With the basic board done it's time to populate it with terrain elements. I sat down and did some sketching to plan out what it is this board will need to feel like a library/school. Usually I don't really sketch anything when I'm building terrain as I like to play it by ear and build what I see looking at the parts I have to work with.

While that system has worked well for me in the past it also have some drawbacks, namely not having a solid plan means some projects just go on forever. I've also run into the problem of playing it by ear and having a piece that looks great but is impossible to store. 

After doing some thinking I decided that I will need several elements to make this board look and feel like a library. I also came up with some optional elements to make it feel more like a school, anytime a board can pull double duty with minor tweaks you should include that in your planning.

BOOKSHELVES – I decided the primary terrain element for this board is going to be various bookshelves. To make the best use of my time I decided on several configurations that could be easily repositioned to create a new layout and were small enough to be easily stored. I settled on a single-stack L shape, a double-stack L shape, a single stack S shape and a few straight sections.

STAIRS - I'm still looking for some inspiration on these. My first thought was to use wooden balls and build the stairs going around them. I think that could look mystical and cool, but I'm afraid they won't have enough height. I've been looking at using a tube and ringing the steps around that to give some more height and provide someplace for snipers to nest. 

STATUES - I need to find some cheap Egyptian style statues. I see this more as a library/museum of mystical power and history so incorporating some statues and other relic type items will give more scatter terrain and add a bit more character to the table. While the bookshelves I found are really cool a table of nothing but bookshelf is going to feel like a simple dungeon.

ARCHES - To help give the feel of being in a massive structure I'm considering building some arches. These will provide some more interest areas as well as some minor cover for long hallways. I'm not 100% sold on the idea yet but will  probably at least build one to see how it looks.

Here's the optional stuff. To try and get more life out of this board I'm considering adding some school elements.

DORMITORY - Essentially the idea would be to create some rooms (or walls) that can divide up sections of the board into rooms (essentially buildings on something this big). I have some beds that will make a good dorm room, they're just over 1" high so it will be a bunch of light cover in a small area that could be interesting.

LOCKER ROOM - I'm not sure about this one. On one hand I think it could be fun to build on the other I don't know how functional it will be in game terms. I'm going to revisit my sketches before I try to build anything.

BOILER ROOM - This will be easy a room full of pipes and techy looking things. Gives me the chance to pull in some additional sci-fi elements and add some grime to the table. I'm not sure it's necessary yet but as an option I like it.

STAGE - Most schools have stages for presentations and talent shows. If I build one this could potentially serve double duty as the Star Theater for Malifaux. Not sold on it yet but we'll see.

Faux Pas - Step by Step Library Board (Part Two)

Relic Knights – Part two of my guide to building a Doctrine Library board is dealing with faux finishes. I want my tile to look like marble specifically a white and purple checkerboard pattern. In order to accomplish this I need to refer back to the painting lessons I taught at Home Depot while I was in college.

To make a fake marble pattern you need 3 colors of paint, a sponge and a feather (or in this case small brush) if you want to vein the marble. 

Before you begin it's important to prime the board before you paint. I usually use a water based primer or a paint and primer all in one. Since I had a 2 gallon bucket of water based Kilz lying around I decided to use that first. When putting down your primer be sure to put a smooth even coat down and get into the grooves you carved previously. It you don't properly cover the foam you'll run into issues if you choose use any aerosol paint on the board.

After the primer has dried its time to paint. I'm going to start with the white tiles and paint the full board before going back to paint the purple tiles. 

To easily get a marbling effect you take your three colors and put down a heavy stroke of each. Then take you sponge (or blending tool) and blend the color together. When done properly you should get a transition that resembles the large veins in marble. While this is still wet take your brush or feather and drag it across with you accent color to add the thin veins in the marble. I'm using a metallic gold.

Depending on the effect you want you could just stop now and have a marble floor. I would suggest at least doing a wash once it's dry to bring out the lines, essentially you're creating the grout lines. For me I want a checkerboard look so I need to paint the purple.

For the purple I want it to look like a different material so I'm not doing a marble effect. Instead I'm going to paint it in a jewel tone almost like amethyst. 

Let's Learn – Step by Step Library Board (Part One)

Relic Knights – I'm super excited about the upcoming release of Relic Knights and while the game isn't slated for release until May 2013, I decided to get a jump on building a table for it. I've had a bunch of bookshelves that I picked up to detail the interior of some of my buildings sitting around for what seems like forever. At some point I gave up on detailing out each building because the details limited movement with the building to much. 

From past experience large buildings look cool on the board but they pose issues with storage. This time around I decided to use the system I did for the sewer board to create the shelf walls. Also taking what I learned from cutting out all those bricks with the sewer board and the huge time sink that became I decided to carve the tiles directly into the foam base. 

Materials Needed:

(4) 1"x4"x48" boards

(2) 1/4" dowel rods

(4) small corner braces

(1) 4'x8' sheet of 2.5" insulation foam

Wood Glue

Painters Caulk

Razor Knife 

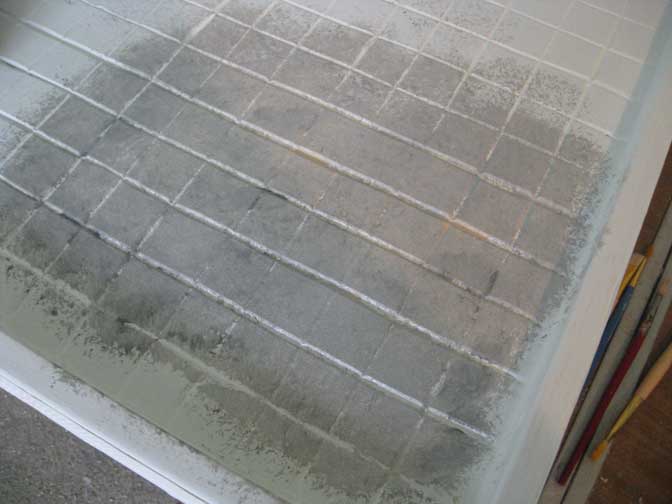
Step One: Carving the foam is easier when it's not attached to the wood frame. I measured out a 36"x36" square and carefully cut the foam to size. When cutting sheets of foam it's best to score it deeply and then gently apply pressure until it pops apart. After it's cut to size measure and mark the board every 1.5" repeat until you have a checkerboard drawn over the entire board.

Next you'll take a razor knife and hold it at a 45° angle and cut along one side of the line you carved. Repeat for the second side of the line. The goal is to create a v-shaped bevel along the grid. Continue until the entire board is carved with tiles.

Step Two: Building the frame is pretty simple. First measure (2) of your boards to 36" and cut them down. For the other (2) board you'll need to measure how thick your boards are. Even though the sign at Home Depot said the boards were 1"x4"X48" that is not really true. Much like the weight of a quarter pounder before cooking the boards shrink. Mine are about 3/4" of and inch thick, which means I need to cut my other boards to 37.5" long. 

At this point I then measure out an are 2.5" wide in the center of my boards to account for the space the foam will occupy. Install the corner braces in the middle of that space. Once you've completed this you should have a square frame the has 36"x36" interior dimensions.

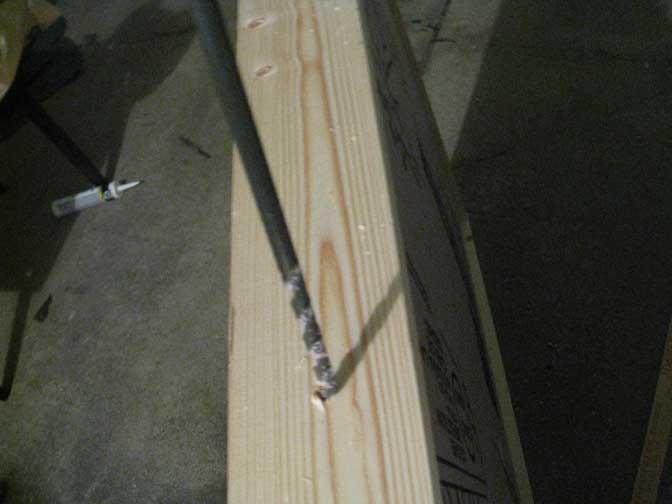
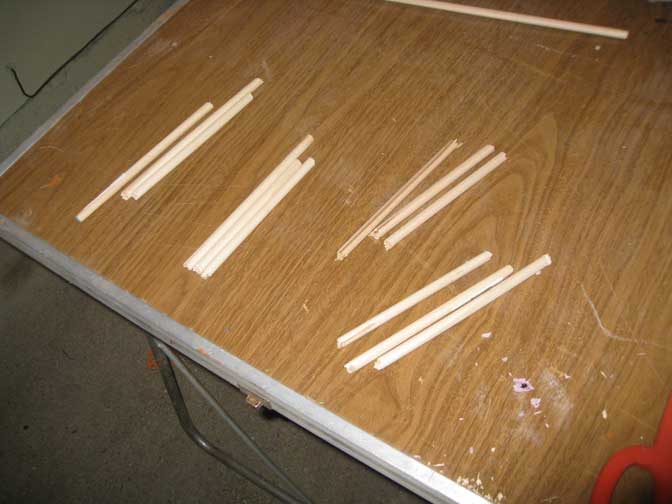
Step Three: To install the foam in the frame you'll want to gently push down on the foam until it pops into place. Align the top of your foam with the guidelines you created in Step Two. Now that your foam is level and center in the frame you need to create some support so it won't break when it is leaned on. Take your dowel rods and cut them into 5"-6" sections. Then put a 1/4" drill bit on your drill and drill (3) equally spaced holes along the edge of your board. 

Take your wood glue and slather it along the dowel rod, then insert the rod into the hole you just drilled. Tap it down with a hammer until it is flush with the edge of your board. Repeat until the board is pegged on all sides. This give a nice level of support and hold the board together. I've also added 2 finishing nails in each corner for extra support.

Step Four: This part may or may not be necessary. I prefer to do it as it adds another level of bond between the frame and the foam as well as creates a water tight barrier along the edge of the board. (I tend to do lots of water effect so I err on the side of caution. Take your painters caulk and run a bead along the edge of the board between the foam and wood frame. Then with a wet finger or sponge smooth out the bead so it is flush and fills the gaps. Repeat on the other edges of the board. After this side dries, flip the board over and repeat.

Step Five: Depending on how good of a wood cutter you are you may or may not need to fill the gaps with wood filler. I'm far from awesome at cutting wood (partially because I don't have a table saw) so I have gaps to fill. I also need to fill the dowel holes. Once the wood filler (or bondo if you prefer) has dried you need to sand it smooth. During this process you may want to round the lip of your board slightly to make it more comfortable to rest your arms on the edge.

Step Six: Details, since I'm making this board specifically for Relic Knights I want to do something to the frame to make it stand out. I found this drywall tape that looks like an after market vent grill or something. I used this on a spaceship deck before, this time I've used glue to wrap the edges of the board with this texture  to give it a bit more of a scify feel.