Smells like ... Vinegar (Decal Tips)
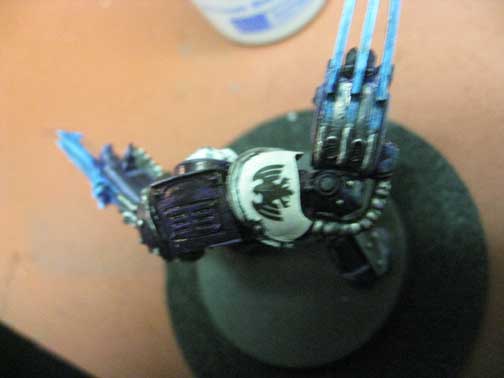
/Warhammer 40,000 – As promised the next step is actually applying the decals. One of the tricks I've learned over the years is to use Micro Set and Micro Sol. This nifty products help to melt the decals into the model so you don't get that weird halo line that needs to be painted over.
Step One: Paint the area you plan on applying the decal to with a gloss varnish. This serves two purposes, first it gives you a pretty smooth surface to apply the decal to. Second something about the Micro products reacts with the varnish to help the decals melt in. This might be completely a rationalization on my part as I'm no scientist but it's the way I do it and it seems to work great.
Step Two: Put down the Micro set on the area you want to place the decal. Paint it on with a soft brush.
Step Three: Slide the decal in place. At this point I gently dap with a paper towel to remove excess liquid.
Step Four: Gently apply Micro Sol over top over the decal and leave it alone. The Micro Sol will soften the decal and cause it to "melt" into the paint.
Step Five: Once it's dry apply a second coat of gloss varnish. This will protect the decal from damage. If you desire a matte finish apply that after the gloss has dried.
Pretty simple really. A small bottle of either product will last you forever, I picked mine up years ago and still have an almost full bottle of each.
So how did the laser decal paper hold up? The answer is pretty good. I only had minor problems with the toner coming off and was simple enough to paint over the decal with some thinned down paint. I highly recommend this style decal paper over the more readily available inkjet papers.


