Paving the Way - City Block Painting

Paving the Way - City Block Painting

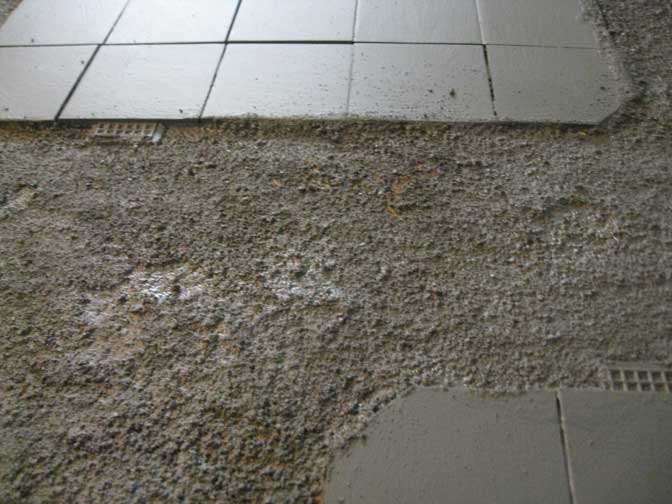
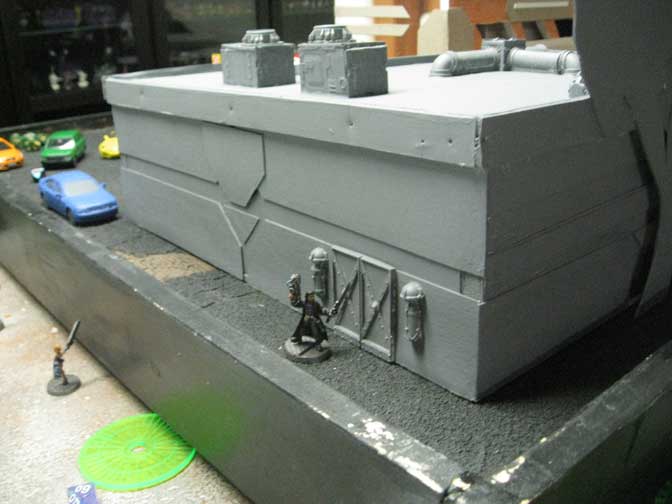
Terrain Making – I seem to be getting better with the airbrush, after the primer dried on the 3x3 city board I went in and air brushed the city streets and the the blocks. The trick is to apply the paint in layers starting with the darkest and then building up to get a smooth transition between colors. 

Read More

3x3 - 3x3 - 3x3 - 3x3 - 3x3 ...Repeat

Terrain Making – While I love my 3'x3' Zuzzy mat I decided to build a 3'x3' base board to go with this near future stuff (Ideally I'll also be able to use it with Deadzone). I used the same wooden framework and insulation foam core as I've done with my Malifaux boards.

While waiting for the caulk to dry I started cutting out 3"x3" squares to build the city blocks for this board out of 1/4" foamcore. With small sections I don't think I'll run into a warping issue with the foamcore but just in case I applied my glue generously.

I figure using 3"x3" squares to build the foundations will give me an interesting look that serves the dual purpose of creating a grid for Deadzone. (As I've said before with the amount of games I like to play making the terrain as multipurpose as possible save me some space.) The 3"x3" slabs of concrete will also help to create a sidewalk for the various buildings as well as clearly define the roadway.

After glueing the squares into city blocks and defining the streets and alleyways, I cut some drains out of granny grate and glued them down onto the street. Once that had dried overnight I used some wood glue and play sand to texturize the street. With the high humidity this took quite a bit longer to dry than it normally does.

While waiting for the glue to dry I started cutting the basic shapes for more city buildings. The last few I made didn't fit into the parameters for Deadzone terrain exactly so I decided to make some additional buildings that match up with the grid. I kept 3.5" high as my standard for the height of A floor of a building and kept all the lengths multiples of three. They seem to work pretty good and I'm considering adding several stories to each of the buildings. 

To paint the whole thing I picked up a quart of Behr Premium Paint and Primer in a color called Pencil Point. This is a nice deep gray that only requires one coat to cover and improve overall adhesion. I like how thick the paint is as it helps to fill weird gaps and seal the sand to prevent chipping.

Let's Go Shopping ... More Near Future Terrain

Let's Go Shopping ... More Near Future Terrain

Terrain Making – With the exterior of the two larger structures in a playable state I've moved on to building some smaller buildings to fill in the board. On a 3'x3' including all the structures might make for a cluttered board however in small scale skirmish games cover is key to a good game. Without it you'll fall victim to the sniper on a roof more often than not.

Read More

If You Build It ... More Progress Near Future Board

Terrain – I was able to get more work done on the Near Future board. I added more exterior details the the club and put a coat of primer on the exterior. When building a project like this I like to brush on a coat of primer to verify how things are going to look and see if I need to sand or fill any gaps. With the variety of colors and materials I'm using inevitably there will be some rough spots that need further attention. Luckily there weren't to many with this piece so I'll be able to fix them quickly and move on to blocking in the basic paint colors.

Also on my table recently was the apartment/office building. I was able to add more geometric shapes to the exterior and give it some interesting details. The interior received some additional attention as well with the addition of interior walls and doors. I haven't decided on how I want to furnish this yet and in an effort to getting the table into a playable state as quickly as possible I'm going to hold off on furnishings until the exteriors are all done.

For the roof I added and access door and a billboard. I think this gives some interesting areas of cover on the rooftop as well as some additional character to the building. I probably need to add some HVAC units to the rooftop as well but I'm not sure I want to add that much clutter to the rooftop yet. The next step is brush on some primer an see how the overall building looks before I do anymore work.

After a few test runs I realized I probably need to add more access doors to the building. I'm on the fence about doing it as I want the buildings to pose a tactical challenge rather than just be a protective tunnel to avoid what's going on in the street. Most likely I'm going to concede to functionality as the point of a cool terrain set is to have fun interactive games. (This is why it's a good idea to test drive terrain before you finish it.)

While this project is taking me longer than I anticipated I'm really happy with how it it progressing. My goal is to produce enough pieces to populate a 3'x3' board before creating additional elements to eventually fill a full 4'x6' table. I've always wanted to have a realistic looking set of city terrain and this project is seeing that dream come to fruition. 

I'm glad to have found some games that work well with functional buildings instead of the generic war-torn wasteland that has been my MO for urban terrain in the past. Also as is usually the case by building some interesting terrain, my gaming group is more likely to adopt new systems and try new things. This terrain set should be functional for MERCS, Judge Dredd and Relic Knights (when it comes out).