Building Droppods

Warhammer 40,000 – So for Christmas I received six drop pods up until now they sat safely tucked away in their shrink-wrap. During a brief lull in my commission work (while waiting for the primer to dry) I sat down and tried to build one of these. 

Back when drop pods were first introduced as a transport option for marines I had built a bunch of paper models out of cardstock and foamcore. These have served me well up until this point as they serve their purpose and are about the same size as the plastic model. Of course the doors don't open and they don't look quite as nice but during games I was more concerned with function over form. 

Now that I'm slowly completing this army I decided I should have the real model. 

Assembly for these was pretty simple and the first one I built went together well. The doors do seem to be an issue so I'm going to look into how to make them stay shut and only open when I want them to.

I still need to add the Raven iconography to the exterior of the pod but over-all I really like how they look and can't wait to get the rest built up to use in my games.

It will be nice to have the official models on the tabletop finally. Although I will miss my fourth edition paper stand-ins.

Needs more Grav Cannon

Needs more Grav Cannon

Warhammer 40,000 – After playing in an apocalypse game I've decided I need to built the rest of the Centurions that I received for Christmas. I wasn't a huge fan of them at first but after seeing them strip hull points from a titan like they were a pair of pasties at the gentlemen's club. I need to have two units of them.

Read More

Plastic Thunderhawk Complete

Plastic Thunderhawk Complete

Warhammer 40,000 – I finally wrapped up the paint job on the Plastic Thunderhawk. The piece is very large and bulky so it took a bit longer than normal to finish. Overall I'm really happy with how it turned out. In the future with big pieces like this I might opt to use an airbrush for the base coating to save some time. The edge highlighting took what seems like forever. I think part of the problem was my hand would get tiered from holding it up so I could only do small portions at a time.

Read More

My First Apocalypse Game

Warhammer 40,000 – Over the weekend I was able to play in my first official apocalypse size game. Big games are nothing new to me as my group have always played massive multiplayer games of 40K with each player playing their own army by itself. These affairs would take forever to wrap up and inevitably players lose interest in the game when it's not their turn. Which meant we typically only played until we were tired and called it so it was rare to finish a game.

With the current set of apocalypse rules we decided to give a big game a shot. One of my buddies was itching to use his Baneblade in a real apocalypse game so we set it up for a Sunday. Not knowing exactly who would be able to make it (face it with kids plans are always tentative) we came up with a lose point value and teams. This would serve as a kick-off for our Badab Campaign. Each player would bring a 40k legal 2000 point list with several 500 point add on lists that did not have to follow the Force Organization Chart. We also set a hard start of 1:00 pm and a hard stop of 8:00 pm. However many turns we could play in that time period would be the game.

Upon arriving at my friends house I was surprised to see not only a Baneblade but also a Warhound Titan. My teammate did bring his Plastic Thunderhawk Conversion so we did have a superheavy to fight against the hoard but things looked grim. 

First turn, we managed to seize the initiative so we could go first. I dropped my Dreadnought at the feet of the titan and disembarked my grav cannon centurions as close as I could to the massive beast. Once it was all said and done we stripped it of 5 of its 9 hullpoints. We also killed a ton of troops but were unable to cause any to break and run. Unfortunately when the titan went it unleashed it's D-weapons and took out most of the things that could hurt it. 

Turn two, with things looking grim we brought in the second line of tank killing weapons to take out the titan unfortunately there was little we could do to it and when it unleashed its massive death rays on our field it took out the rest of the things that could hurt it.

Turn three we changed focus to taking out the troops and bringing moving our troops toward the objectives in an attempt to claim some type of victory out of the bloodbath. The Titan found a less target rich environment so not as many things died this turn and the Baneblade was still stuck behind a wall of slow moving friendly troops.

Turn four the Thunderhawk arrived and eliminated the titan. (Moral Victory) We had reached our hard stop and it looked like we'd win on objectives. However to be fair we let our opponent finish their turn and lost miserably.

The game was fun but it did take a very long time to play, with the apocalypse rules however it did move faster than the old big games of 40k we used to play.


And we're done ... Custom Tyrant's Legion

And we're done ... Custom Tyrant's Legion

Warhammer 40,000 – The Imperial Guard/Tyrant's Legion project is finished. I'm pretty happy with how this turned out and my client is thrilled. He was amazed at how fast I was able to do this quality of a paint job and is happy to have his force in hand. I'm happy with the system I came up with to do a three color paint job and look forward to applying it to large army jobs in the future. My client mentioned that he will have a Baneblade and some aircraft on the way at some point so I can see this growing over time in smaller batches.

Read More

On the painting table ... Command and Conquer

Warhammer 40,000 – Finally I'm into the interesting models that make up this Tyrant's Legion commission. The character models and command squad all have a unique look which means I don't feel like a factory worker cranking out the same part every hour. 

Of course that being said most of the basic paint is exactly the same as the line troopers. Being character models I do spend a little extra time on the highlights and detail work since they should theoretically be on the table for longer than the basic troopers. (That being said they are still guardsmen so a massed volley of bolter fire still turns them into red mist ...)

On the painting table ... Deja Vu

Warhammer 40,000 – I can understand why you see so few fully painted guard armies on the tabletop. With this commission I'm seeing how it can get to be overwhelming. With the kits my client used for this infantry there are only two or three variations in the sculpts which means each "squad" looks essentially the same. I feel that it's important to point this out as otherwise it looks like I'm just picking up the same post from the last few squads.

So yes these might look like the same models but I assure you this is a new group and I'm nearing completion on this army. I'm hoping to be able to snag the completed army from him to take some group shots when it's all said and done.

On the painting table ... More Grunts

Warhammer 40,000 – Yes sir more Imperial Guardsmen made their way to my painting table this week. These are or the more official variety with a head swap of course. Talking with my client he plans on using these models as conscripts and/or gun encampment crew. They have a different look than the great coat models that make up the rest of his force and as such I need to do something a little different, yet keep them similar enough that they look like the fit with the rest of the force.

First up as always with this army I prime everything dark grey and follow it up with a grey basecoat. For these models I chose to do a red and white shoulder pad. I imagine it would designate a different rank or squad than the great coat models which have a 3 panel pad. After blocking in those colors I add the metallic bits and do aa heavy black wash. This bring out the details and gives the basic shading to each model. 


On the painting table ... Plastic Thunderhawk

Warhammer 40,000 – This beast is finally done. Massive models like this are tricky because it's much more difficult to hold it in place when you're doing the detail work. Edge highlighting took forever because I had to space it out so I could keep my arm from getting fatigued. 

Having seen this in action on the table I'm not super impressed with what it can do. Once it's on the table it's pretty impressive but in the game I saw it in action it didn't come in until turn 4 or 5 and at that point it was able to take out a titan but the damage had already been done by the super heavy that started on the table.

If GW ever makes a true plastic kit of this I'll be first in line to pick one up just for the coolness factor. 

FINISH THEM! .... fail

Warhammer 40,000Twilight Ravens Completed Chapter Project Status Update: no where near completion. I made some huge strides in getting this done but ultimately I didn't get it done. It's a bit of a bummer for me as I was really hoping to get this done this year so I could focus on some new stuff. 

In addition the amount of stuff I have to paint just increased pretty dramatically with an influx of Christmas goodies I now have (6) drop pods, (1) landspeeder, (2) Squads of "Iron Hand" cyber marines, (3) more Centurions, and some Vanguard Vets that will need to be assembled and painted. I think with this influx I can play almost any combination of units available in the Space Marine Codex or at least one of almost every entry. The only thing I'm missing are the anti-aircraft rhinos which I'm not sold on as of yet due to a lack of aircraft in the games I've played.

That said I did complete a ton of stuff including (3) Space Marine Armies, (1) Imperial Guard and a bunch of Malifaux crews this year. It just turns out none of it was my own stuff.

Have some fun and go through the sidebar and see what I did each month and what I posted. It's like having a year in review at your fingertips anytime you want.

On the painting table ... Who's Fallen?

Warhammer 40,000 – Dark Angels you seem to have no end. One of my regular clients recently provided me with some more models to paint up for his Dark Angels/Marine Equivalent force. It sounds like his goal is to have a complete Deathwing, Ravenwing and I dunno ... Plainwing force with all the options from either book that he may want to use. He also seems to be following the "Rule of Cool" by looking at a unit entry and deciding if it's a modeling project he wants to undertake rather than just picking the most broken combos to make (although there's probably a bit of that as well)

First up is a Ravenwing Command Squad, with this one he designed some custom weapon mounts that he had 3D printed. The look like a grav gun and a melta gun mounted to the front of the bike. He then made some twin linked bolters that he has the riders holding. The way he explained it is this way he has all the options he might want WYSIWYG on the model. This makes sense to me as it saves cash and provides unique looking models. Hopefully his opponents share my opinion.

Paint on these is fairly simple, block in the base colors, wash with black, brown or green then go in to highlight the details.

Next we have his take on the Legion of the Damned. These are a weird unit in Codex: Space Marines that represent the ghost riders of the Imperium: Hellish flaming marines that appear in times of need. The flaming skull thing wasn't up my clients alley so he decided to do a fluffy representation of them as remembers of the Fallen. Dark Angles that were sucked into the warp during the Heresy who may or may not be the true loyalists.

Going with this idea he asked me to paint them in a Pre-Heresy color scheme without the red bolters that are featured in the rest of his force. I always thought the Pre-Heresy color was black and repainted to green post heresy however my client insists that it was actually a really deep green that was almost black. The customer is always right so I went about crating a really dark green for these models.

On the painting table ... Imperial Armor

Warhammer 40,000 – This week I've been working on tanks and defense lines. These are more elements for the Tyrant's Legion commission I've been grinding through. Even with a simple three color scheme it does take a while to paint up these tanks and I was surprised at how quickly I went through a pot of black wash.

As with all the models in this force my client requested a simple three color scheme with some custom decals. The models were supplied "ready to prime" and he doesn't seem concerned with the amount of mold lines and flash that he left on the models ... sigh. (Note to self: avoid your obsessive need to fix everything and stay on budget)

To start I primed everything with a dark gray duplicolor primer, followed with a basecoat of dark gray paint. To add some interest to these tanks I came up with a simple design that matched the shoulder pads of the troopers in the army. To paint this I used some masking tape to mark off the area to be painted and applied the red stripe. Once that dried I reapplied the tape and painted the white line with a light gray foundation paint. After painting the metallic bits I went in and applied a black wash to everything. This weather the paint and filled in all the hatch lines and made the rivets stand out.

The next step on the tanks is to go back in an pick out any details like the skulls, scrollwork and laurels. At that time I'll also further weather the gun barrels with a bronze to show where the muzzle burns and carbon build up happens.

Also in the que this week is a defense line. This fortification seems to be a staple in most armies to help deal with flyers and provide your static units with a reliable source of a cover save. Painting on these follows the same steps as the tanks detailed above. On the rear of these walls are some strange panels that I'm guessing are some type of light or tactical display. Based on this assumption I painted them to match the other monitor screens in the force.

Finally we have some mobile gun encampments. These are not a GW piece and as such my client uses them for a variety of things from thud guns to thunderfire cannons the simple nature of the piece fits with the look of his army and serves multiple purposes. Painting followed suit with the above. I'm probably going to apply a decal to the front of each of these to add some more interest to the relatively plain front of the carriage.

Using a fairly basic set of techniques I was able to get these models table ready in just one session of painting which helps to keep the project on budget and on time. Next up for this one is a mass of 60+ infantry troopers and special characters.

On the painting table ... We are Legion

Warhammer 40,000 – On the table today are more models for the Tyrant's Legion force commission I'm working on. This is essentially a three color minimum job with a wash and custom decals. The models were supplied to me "assembled and ready to paint" which is a state that can vary significantly from client to client. I guess everybody has their own idea of what that means...

Anyway pretty simple color scheme consisting of gunmetal armor with white, black  and red detail work. I've found using a dark gray primer works best for this job it puts down a solid base that is easy to cover quickly with a single coat of paint. To start I overcoat the model with the gunmetal color and then go in and block out the details with foundation paint. Once that's all blocked in I do a black wash and let that dry. The next step is to go back in and do a simple highlight picking out any details that got lost in the wash. 

Once everything is dry I begin applying the decals. I use a laser printer water slide paper to print these. It works much better than the ink jet version as you don't have to seal it and the toner won't bleed like ink does. The only issue I have with the paper is it is very thick so it takes a bit of work to make the decal lie flat. Mircosol and Mircoset do wonders to help but it's still more work than a commercially printed decal. The other issue with the decal paper is you have to meticulously cut close to the edge other wise it won't lie flat on the shoulder pad. Once the decal is in place and smooth I apply a coat of gloss varnish. I've found that if I do this while the decal is still moist the liquid in the varnish helps it soften up while it sets. If there are any issues with the edge showing I'll go back in and paint the edges to blend them in.

With this custom color scheme I've been able to crank out these models fairly quickly and my client is thrilled with how they've turned out. The trick with any large project is figuring out a system and sticking to it. For tabletop quality focus on how it looks at arm's length, if it looks good you're done and move on to the next model.

On the painting table ... Plastic Thunderhawk Conversion

Warhammer 40K – More Dark Angel stuff on the table this week, my client is focusing on getting his Deathwing and Raven Wing wrapped up so I have some larger projects that need to get a tabletop paint job.

First up is a converted Thunderhawk, my client wanted to have something that he could field in an apocalypse game and didn't want to pay/wait for Forgeworld so he built this himself. From what I can tell this consists of two Storm Ravens, a Rhino, some Cities of Death bits, Dark Angel Flyer and some 3D printed parts. As with previous commissions I've painted for him he likes to design his own stuff in 3D Max and have it printed through Shapeways. He got a slightly better finish on these parts but there is still a definite texture to the final finish, not to hard to hide with the paint job but not the same as injection molded plastic.

I still have to detail out the cockpit and do the edge highlighting but I'm excited about the project so I wanted to share an in progress look at it.

've had a Thunderhawk on my wish list for ages as I really like the Forgewoeld model, however the cost to use ratio never did it for me. From what I can tell this is a pretty good approximation of the model and will work just fine in game. With paint on it it looks really sharp.

Next he sent along a Landraider Crusader that is a Deathwing Transport. My guess is he's realized that deepstriking isn't always the best option and having a way to haul slow moving terminators to where the action is is a safe plan. This model has some minor conversions to it as well mostly the addition of some Cities of Death bits to mimick what he did with his Landspeeder conversion and the details he added to the Thunderhawk.

Back to Badab ... A Warhammer 40K Campaign

Warhammer 40K - It's about that time again when I try to organize our gaming group to play a linked campaign. I've done my research and looked through numerous reference books to see if I could find some inspiration for a setting to tie together our games of Warhammer 40K. With grand plans to write up something immersive and complex I set to work ... and then realized I don't have time to get that in depth.

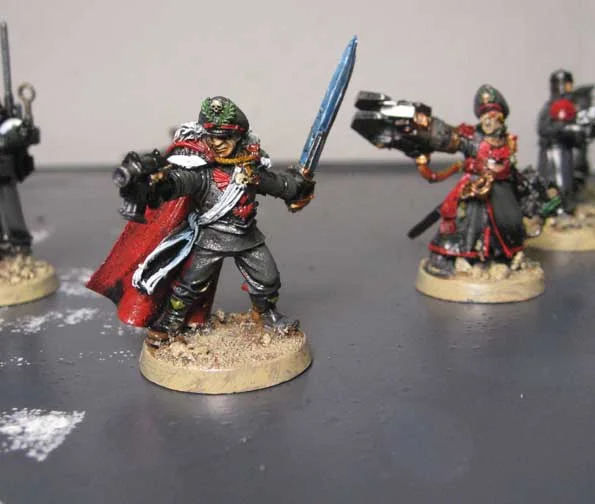
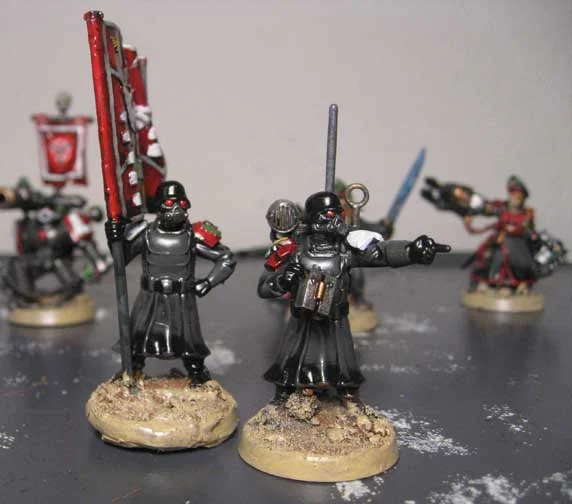
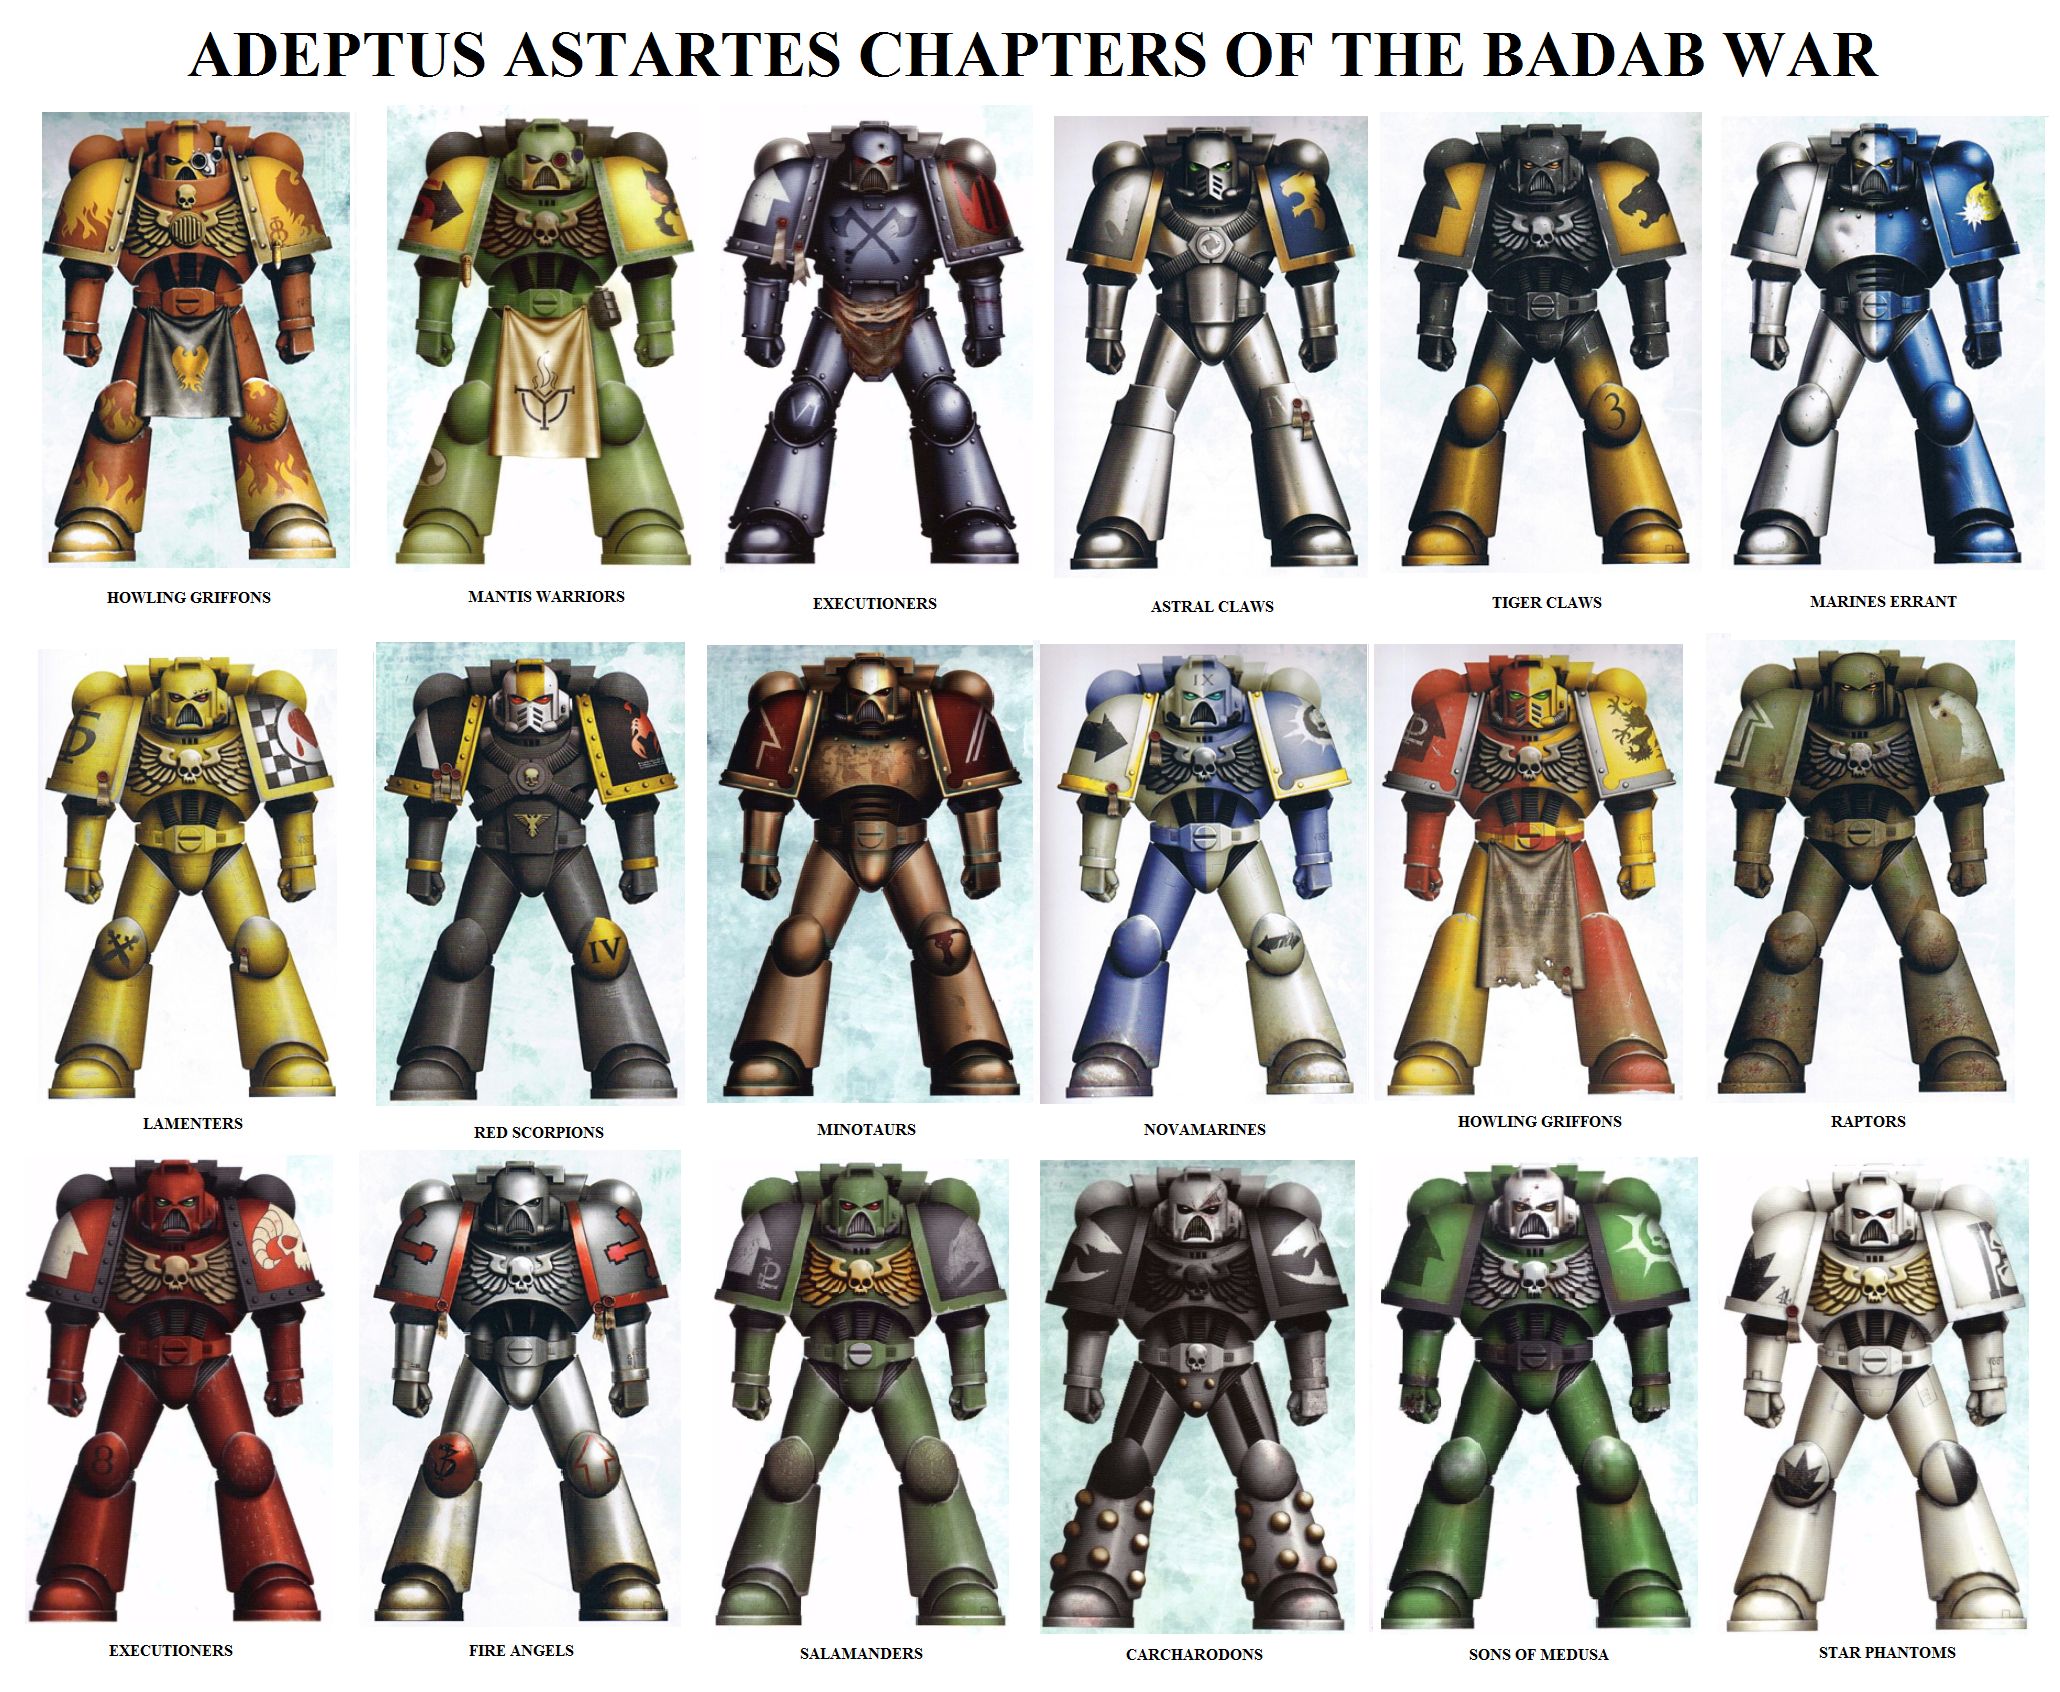
Currently everyone in my group has a Space Marine force of some type, and we never really played out a full campaign the last time we tried to run the Badab Campaign. So rather than get in over my head I'm using the forgeworld books as a starting point and making up my own missions to fill in the blanks.

Below are the missions we're using for week one. Each week I'm providing the missions to the warlord of each side to delegate who will fight which mission. Named characters can only appear in one battle each week so that will help to force some tactics when deciding who will fight where.

This will act like a ladder, each battle has to have a clear winner to move on to the next warzone. If it ends in a tie the game is replayed the next week as part of an ongoing siege. Units that survived the first part of the siege will begin on the table and any additions to the force will arrive via reserves.

During the campaign if a named character is killed they cannot be used in the following week's missions.

Week One

Capture the Shuttle (1500 points) Desert Big Table (4'x6')

A shuttle carrying vital information has crashed. Both sides need to recover the information.

Primary Mission: King of the Hill - Uncontested control of the center objective at the end of the game +5 points

Secondary Missions: Slay the Warlord, First Blood

Special Rules: Nightfight (in effect first turn), Reserves, mysterious forests, Fast Attack counts as scoring and gives up 1VP when eliminated.

Set up: Diagonal 12" no mans land through the middle 

Secure the City (750 points) Small City Table (3'x3')

Amid the sprawling hive you must secure a location to set up a command center.

Primary Mission: Objectives Place (6) objective counters in various buildings throughout the city, they are mysterious and have random values. 

Secondary Missions: Slay the Warlord, First Blood, Linebreaker

Special Rules: Reserves, Intact Buildings AV12, firing points per model, Nightfight begin rolling on turn 3

Set-up: Standard 8" deployment

Secure the Complex (750 points) Small Swamp Table (3'x3')

Deep in the jungle swamp something nefarious is happening in an underground complex. Secure the entrance and prepare to cleanse the base.

Primary Mission: Table quarters for each uncontested table quarter held by scoring units +2

Secondary Missions: Slay the Warlord, First Blood

Special Rules: Reserves, mysterious forests/rivers, Heavy Support counts as scoring and gives up 1VP when eliminated.

Set-up: Standard 8" deployment


Building a better list ... Twilight Ravens

Warhammer 40K – Back in third edition I had an Emperor's Children Biker List that ran sonic blasters on everything. I loved that list (and really anything I could dream up from the old Chaos Codex) for the flavor and fun that it represented on the table. If I happened to get stuck playing on a table with a ton of difficult terrain that would die to the dangerous terrain tests more often than to enemy gun fire but when they got there they could summon a ton of daemonettes to gun whatever withstood the hail of firepower they could dish out.

Unfortunately every Chaos codex (barring Daemons) has been pretty crappy and most of my custom models were no longer relevant. Disenfranchised I sold off all the Chaos Marines and focused on just playing the loyalists. I figure at least they get a ton of love every edition and most of the models don't change much in function so at least I'd have something that didn't require complete shelving of the army when editions changed.

Enough history, fast forward to today. With the new space marine book the options are back(sorta). With chapter tactics you can build and have a very unique list using the exact same models with a different choice of chapter tactics. Which is a pretty cool thing one list becomes 5+ each with a unique playstyle; add in the stuff from Forgeworld and you have even more options.

With the new grav guns I realized I can mimic the play style of my old biker list using space marines and get a much reduced (yet more effective) hail of fire because of the relentless rule on bikes.

Here's the 1500 point list I've come up with:

• Chapter Master: Bike, Artificer Armor, Relic Shield, Thunder Hammer

• Master of the Forge: Bike, Conversion Beamer

• Ten man Bike Squad: Power Weapon, 2X Grav Guns, Multimelta

• Ten man Bike Squad: Power Weapon, Melta, Grav Gun, Multimelta

• Landraider Achilles

• Three man Centurion Squad: Grav Cannons, Omniscope, Hurricane Bolters 

Happy Birthday to Me

Random - It's my Birthday and I got some new toys. Look for a full review of these in the future.

Super Dungeon Von Drake's Manor - Love the look of this box. I really need to allocate some time to playing this game and getting these minis painted. The whole thing is way to fun to sit on the shelf.

Chessex Pound of Dice - You can never have enough dice, this bag has a full pound of assorted D6. I really like these to have in my community dice box. Nothing is more frustrating than having somebody else touch your dice and jinx them.

Deathwatch: Honour the Chapter - I love these books even if I never get a chance to play the RPG the wealth of information within these is great to read. I've been absorbing all this stuff as I begin to rework my own Space Marine Chapters backstory.

On the painting table ... Imperial Guard

Warhammer 40K – My newest commission is a Imperial Guard force that I'll be painting squad by squad. My client opted to go with the more affordable Wargames Factory Shock Troopers the models are about the right scale and they have the look he wanted with out breaking the bank trying to build a Death Corps Forgeworld Army.

He was little haphazard with the way he glued models to the bases he had so the scrolls don't always line up on the bottom of the base. He asked that I just try and hide it with paint. Easy enough, the models also have a plastic tab on their feet which he just glued to the base. Not exactly how I would go about it but every gamer has their own quirks and for some just getting something on the table that looks decent is more important than the little details. I hid the bases with some sand and rubble then set about priming the models.

This is another basic tabletop job. Which seems to be the norm for large scale army jobs. Honestly you rather see individual models by themselves so going overboard on the details isn't necessary for most gamers. (With my own stuff I obsess over the details ... which is why I can't grind them out as fast as my commission work)

After a gray base I went in with foundation paint and picked out the black, red and white areas then added metallic to the guns and face masks. Doing these assembly line style I was able to get most of the work done in one night.

Next steps are to wash them with black, do some minor highlights and apply the Helghast Decals to the shoulder pads.

On the painting table ... A stern look

Warhammer 40K – Anytime a new power armor book comes out it seems like a get swamped with new commission work. This is a good thing, so I'm looking forward to all the supplemental codexes that are coming out hopefully they'll have some cool unique units that my clients will want to add to their forces.

On the table now are some Sternguard Veterans to go along with the Dark Angels army I'm been painting for the same client. His goal is to have a nice looking tabletop force without breaking the bank. Which means all I'm doing it applying paint, I have to repeat this any time I post things for this army as personally mold lines and flash drive me crazy. However to keep the project within budget I have to remind myself that these were provided "ready to paint."

Anyway the new Sternguard plastics are pretty nice. They have all "ten pieces of flair" just like the old metal/finecast versions as well as all the weapon options in the kit for the basic entry. Looking at the way he's assembled these models I definitely want to pick up the set for the extra parts there are plenty of cool bits to make some unique models from this kit.

Painting is pretty basic a green base with a wash for the armor. I went in with gold and tan to pick out the robes and bling. Then gunmetal and red on the weapons. Once that was done I went in and picked out some of the highlights on the models and applied the single sword decal my client is using to denote veterans.

Also in this batch is his custom version of Ko'soro Khan on foot. I guess he's working on the mounted version as well so the two models will look the same. In an effort to make the most out of his power armor models I'm painting him as a master of the Ravenwing. My client likes to run a Codex: Space Marine list for his bikes with Kahn and pairs them with an allied detachment of Dark Angels.