Boxes - Building what's in them to free up space

Boxes - Building what's in them to free up space

Warhammer 40K – If you're anything like me you have boxes of unassembled miniatures all over your game area/hobby room. My drug of choice for models on sprue is Space Marines mostly. It's one of those ubiquitous things that I always have on my wish list for Christmas just because there's always another variation to build, another squad load out to try, or just a cool idea to kit base and covert a unique pose.

Read More

Building a Kingdom(Death)

Kingdom Death – My play group is super excited to try out Kingdom Death. Which means I need to get this assembled so we can play. I don't want to rush through these as the models are amazing and I want to take the time to paint them to the level they deserve.

Unfortunately the assembly instructions are not up on the Kingdom Death site yet. Looking at the sprues I was able to put the basic survivors and Lion together easily as each part was labeled with a letter number code. So all the "F" components make one model and all the "C" components make the other etc. 

The first sprue went together easily and I only had some gap issues with the Lion. I think these may have been user error rather than a case of the parts not fitting perfectly. It was easy enough to fill them with green-stuff and smooth it out. The survivors had zero issues and went together painlessly.


Insta-Mold or it's Cheaper Equivalent

Kingdom Death – Ceramic Faces are a theme in Kingdom Death. Unfortunately the Survivor box I got only has ten 30mm base inserts. They're super cool but the monsters are on bigger bases and I want them to match. 

Some time ago I purchased this Japanese product (Oyumaru) for $4 off ebay. Apparently its the same as another product sold by CMON which is branded as Instant Mold. Essentially it's some type of plastic wax that you heat and press the part you want to copy into. Once it dries it's very flexible but holds the detail. You then press greenstuff into it and make a copy.

Once you pull the greenstuff out of the mold you have a pretty decent copy of the detail. I've been triming it to fit on the base of the models. I'll fill in to blank areas with sand and ballast to give it a bit more insterest than the plain faces have. 

Time and Tides ... Christmas Prep

Time and Tides ... Christmas Prep

Warhammer 40,000 – So last year I got a bunch of 40k stuff for Christmas. Most of which was still in the shrink-wrap and stacked on my to-do shelf. I figure with Christmas right around the corner I really need to get this stuff built before I wind up with more boxes that will need my attention.

Read More

Exodus ... work in progress

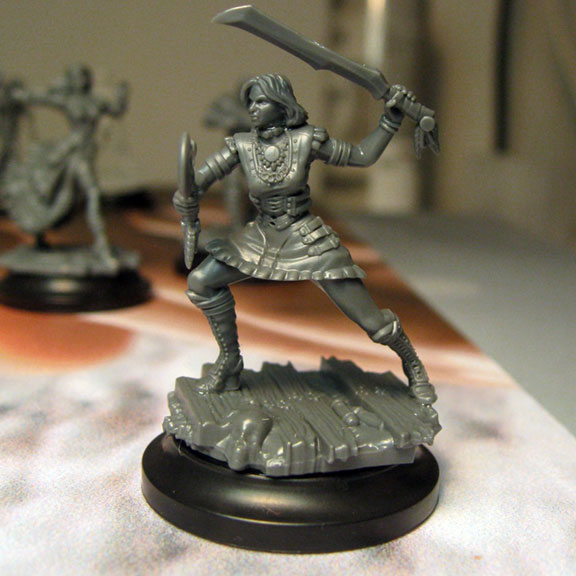
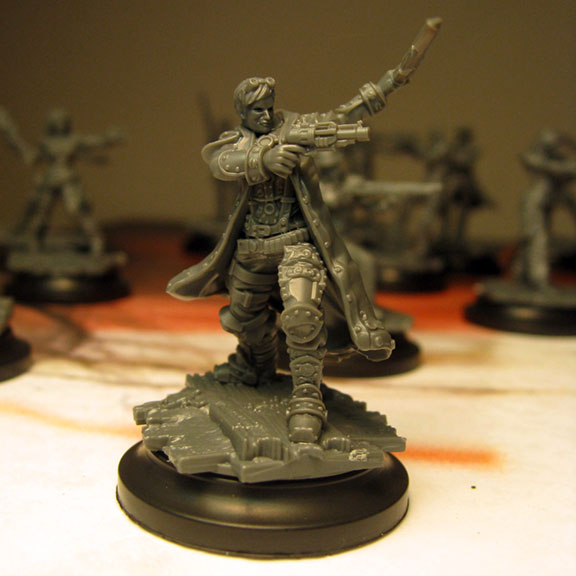
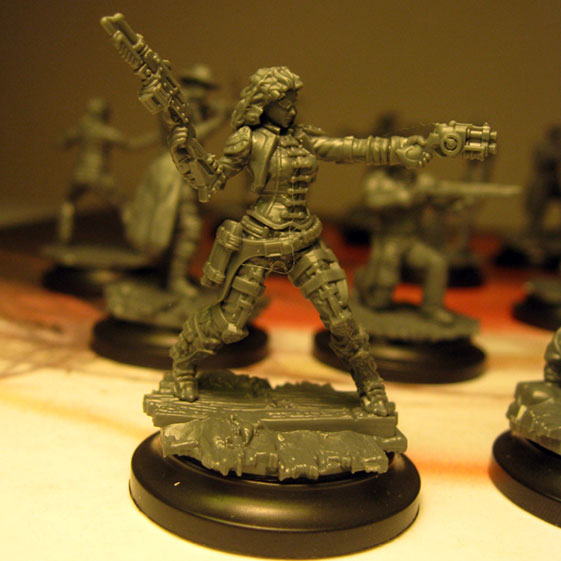
Wild West Exodus – I've started assembling the Outlaw gang for Outlaw Miniature's Wild West Exodus game. This is a job for one of my regular clients who just picked up the game and sent the models off to me to assemble and paint. My understanding is this was another game that got Kickstarted and delivered fairly recently. I had looked at the models while the Kickstarter was going on and wound up passing because I couldn't justify another game at the time. (Looking at these models I question that decision...)

Unlike most recent Kickstarter projects these plastic models are really plastic. High quality gray hard plastic on sprues. It's an amazing concept really promise plastic and deliver something that can be glued together with plastic cement. I wish other cool million dollar projects would have followed suit but that's a rant for another time.

Putting these models together was a dream, the kit included paper printed instructions, numbered pieces on the sprue with intelligent cuts that allow the seams to be hidden fairly well. (No gluing faces on that I've seem so far ...) A tiny drop of cement, push the parts together and set it aside. No holding parts for hours, pinning or dousing it with CA Activator. It seems I've been dealing with to many other forms of "plastic" metal and resin  lately that I'd forgotten the reason I still love putting GW figures together, hard plastic kits are the way to go period. 

I was quickly able to clean and assemble the ten outlaws, Wayward Eight and a few other models. I think in total it was only a few hours of sitting and gluing to get them all put together. One complaint though is the the printed instructions have the same "sprue-location-highlight" for every model, follow the numbers and full drawing otherwise you'll never find the parts you need.

After breezing through the plastic models I opened up the resin character models. These were not so easy to assemble. It took two thoroughly washing with a toothbrush to get all the mold release off, and even after that they still felt someone "slimy." The resin isn't as brittle as some types but it still wash tricky to cut. I used Gorilla Glue Gel Super Glue on these and wash able to get them to stick with minimal holding in place. 

Once these dried I sprayed them with a red oxide primer to set up the base coat, as they're going to be primarily brown and silver. 

Lucy in the Sky with ... Black Diamond Starter

Relic Knights – I'm still cranking away at getting my Relic Knights assembled. I'm trying to get them done ASAP so I can send a complete list of missing parts over to Soda Pop to get them sorted out. It's a bit of a bummer that even though CMON is the company that took the money for this and handled the packing that I have to go to Soda Pop to get the missing parts. It's a weird dynamic that I hope winds up working for everyone involved. It still blows my mind with the amount of negativity on the kickstarter page as well as in Soda Pop's own forum. It's unfortunate as the game is really fun and the models are pretty good considering the cost of them during the kickstarter.

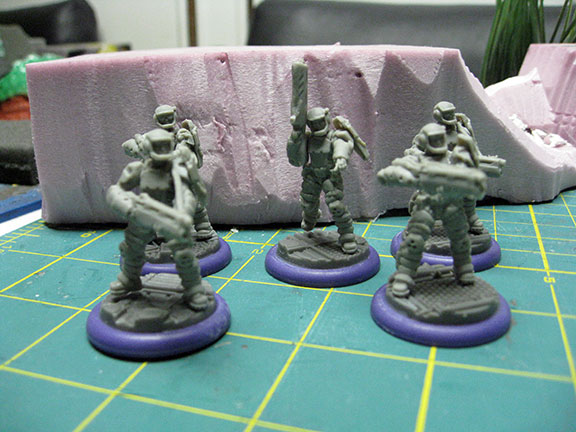
Anyway the Black Diamond starter was pretty straightforward to assemble. The troopers have this shield that I'm guessing fits on their shoulder (at least that's were I put it). But other that that one wonky part everything else went together fine. 

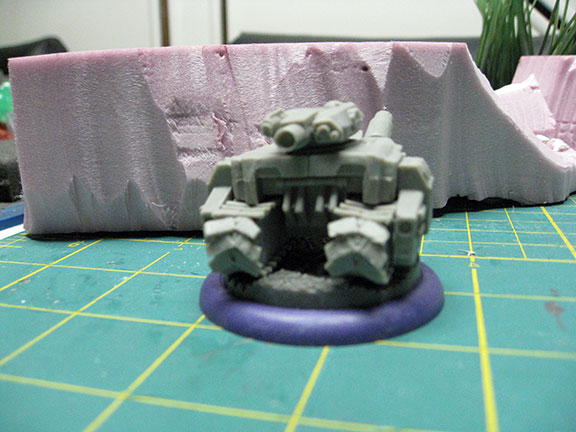
The tank seems a little odd as there is this one area that looks blank almost like it's missing a part but I can't really tell from any of the product shots because it's on the rear of the tank.

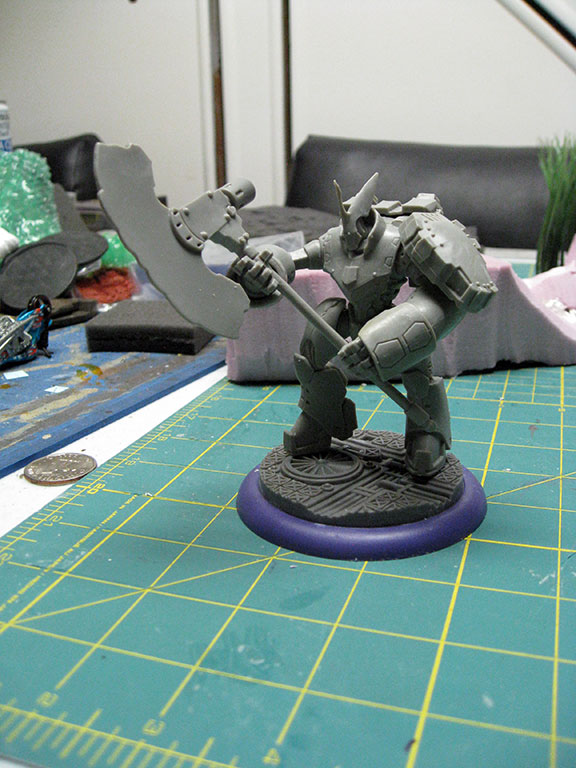
Magnus is really a cool model and I'm really happy with how he turned out, super easy to assemble with mold line that were easy to remove.

I was also able to put together the Diamondback Mech and this was a dream to assemble everything fit just right and mold lines were easy to remove. 

Overall so far these models seem to work fine in this material. I do however still have the other half of this faction to assemble.

Ahoy! - Star Nebula Corsairs Building Progress

Ahoy! - Star Nebula Corsairs Building Progress

Relic Knights – My quest continues ... I've just wrapped up building the full faction of Star Nebula Corsairs from my Relic Knights Rewards Package. During the initial Kickstarter this was the faction that peaked my interest the most, I've always liked the idea of space pirates so this is right up my alley.

Read More

They Call Me ... Doctrine Feel-Good

Relic Knights – Wow that's a pretty god-awful headline, I need to work on my puns...

Anyway continuing my press to get all the Relic Knights stuff I received assembled I'm now into the Doctrine. This is one of the factions I was on the fench about during the initial kickstarter but in the end I felt like the look of them was unique and they could present some fun modeling opportunities (ie my library). 

Much like the Speed Circuit faction these are mostly small models with a fair amount of fine detail. It is tricky to work with this material as with these small models its hard to get in where the mold lines are to remove them. The peg and plug sockets go together smoothly and make assembly a dream.

That's one thing I have to say about all the models in the Relic Knight line I've dealt with so far. They are a nightmare to clean up but once that part is done they go together smooth and glue solid with almost no "hold and blow" required (having recently put together some older metal Malifaux figures the "hold and blow" really does blow). I've never been a fan of accelerant because I don't like what it does to the glue in terms of making it more fragile.

Overall I didn't find any major issues with these models as I put them together apart from the standard complaint about mold lines and their location. They do look a little soft in some instances mostly with the faces which at this point I think if may been intentional. 

Speedy Assembly ... Putting Together Relic Knights

Speedy Assembly ... Putting Together Relic Knights

Relic Knights – I started putting together the Cerci Speed Circuit models and let me tell you they are very different than the Noh faction I assembled earlier this month. The models are much more delicate and as such are less than speedy to assemble. As with the other the details initially look a little soft but I'm guessing once they are assembled and primed it will sort itself out.

Read More

Weird Plastic - More Malifaux Madness

Malifaux – I've been spending some time going through my box of unassembled models and realized I own a ton of Malifaux. Most of my Malifaux gaming as of late has been more of the demo variety which means I'm not using some of the cooler models available to me. I've decided to make an effort to get these models built. Even if I'm not using them having them assembled and painted near my demo table set-up draws more attention.

Before I continue I just want to say I find the new plastics to be easy to work with and much more dynamic than anything else out there. Reproducing the artwork so faithfully is a really amazing feat. As I put together more of these kits I continue to be impressed.

That said whoever designed the cuts for these models should be tarred, feathered and strung up. Good lord putting together the Masters of the Path set was an excercise in frustration. Yan Lo's goatee caused no end to the pain of having fat fingers, even with tweezers it was had to manipulate. And really WTF is up with having to glue together a tiny spear shaft, putting tiny ribbons in the nieces hair etc. Once you get it together and don't lose any of the tiny parts they look amazing but getting there, well it's something.

In addition to the Res/Thunder box I put together McCabe and his band of ruffins, not quite as annoying as Yan Lo's box but still a bunch of tiny parts. Same with the Orian and Riflemen.

Malifaux models have always been fiddly but the plastics take this to a whole new level. No longer can you work at a messy hobby table with a pile of parts to put together and have any hope of making the final thing look like the photo (or render in this case ... which is annoying I miss the well painted photos of finished models). 

Instead I'm working on a clean mat with a tray and towel to catch anything I might drop. Trust me take some extra time with these and work in a pristine space if you drop one of the tiny bits in a pile of plastic shavings you're never gonna find it.

Once you get over the assembly process the models are amazing. One concern I have is transportation of then. With the dynamic sculpts they're not fitting in my Battlefoam case with standard cuts. I fear I may have to shell out for some additional trays and might even need to do the custom cut option to protect the thin parts that extend beyond the base. 


Putting Plastic Together ... fumless fallacy

Over the weekend I sat down and put together the blevy of plastic kits I've had sitting around waiting to put them together. While it's probably counterproductive to put together more stuff to paint before I finish my existing project load I needed to take a break from painting for a little while.

When assembling plastics it's important to use the correct glue. For most model kits the correct glue is plastic cement. (Super Dungeon Explore is an exception to this) Plastic cement causes a chemical reaction which softens the plastic and welds the two parts together into a solid join. This is more durable than a standard glue join and the models are unlikely to come back apart without serious repercussions. (notably truly broken pieces).

It's been some time since I had an assembly line going to put together a bunch of kits at one time and I forgot how messy plastics can be. Shaving the mold lines and sprue nubs left my workspace covered in plastic shavings. It's a good thing I set up in the basement where it's easy enough to sweep up the mess. The lesson to be learned here is to put a drop cloth down when doing mass assembly. It's also helpful to keep the shop-vac handily.

When choosing a plastic cement there are a ton of choices available. I prefer to stick with the "non-toxic" blue testors brand in the metal tube. It's cheap and easy to get and does a great job. The only problem is the tip is far from accurate and to much pressure on the tube means glue everywhere. I've heard there are better glues that only require a single drop with a pin to hold the plastics together. I have to assume they are also fairly smelly and toxic like the red tubes of testors. 

Not feeling adventurous I stuck with the stand by blue tubes. Just because it's labeled "non-toxic" does not mean it doesn't smell. In fact the glue I was using had a very strong citrus odor that lingered well beyond the time it took for the glue to dry.

The next important tool to have on hand are a pair of side snips or sprue snips. These allow you to easily remove the pieces from the sprue. Don't twist the pieces off or try and carve them off with an exacto blade, you'll wind up damaging the part and probably gouging yourself with the blade. A good pair of hobby snips will cost you less that $15 and will save you much more than that cost in potentially damaged models. You'll also want to have some fresh exacto blades around to scrape off the mold lines.

With the proper tools in hand I went to work. Over the course of a few hours each night I was able to assemble Skullvane Manse, an Imperial Stongpoint, Dark Debts, Mr. Tanner, Mr. Graves and Santana Ortega. Next up I'll review these kits individually.